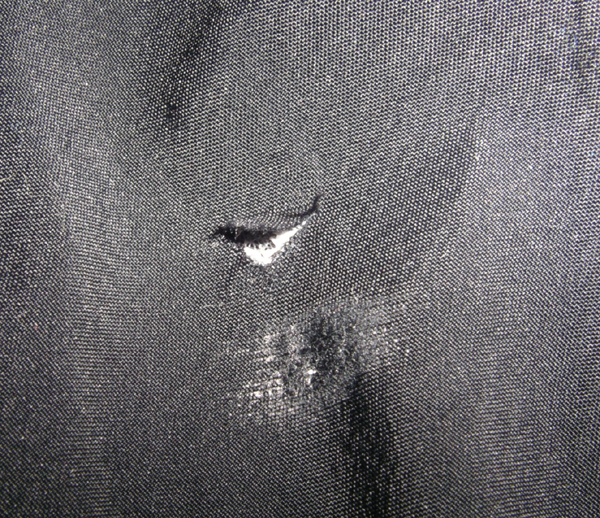
Sewfree Patch Howto
 Sewfree is a heat adhesive for the textile industry. It allows the
elimination of sewing for many applications, including seams, zippers, pockets, and patches. In this howto we show the
usefulness of Sewfree for making repair patches from any material - thus allowing for a perfect match when repairing your
own gear from leftover material.
Sewfree is actually a two-sided polymer membrane that comes in a sheet with a paper backing on one side. It is heat activated
and can be applied with a normal home or hobby iron. Although the activation temperature is 104-171 degrees C, the iron temperature,
time and pressure need experimentation.
Sewfree repair patch howto in 10 easy steps:
- First you have to select thin patch fabric. The thinner the fabric is the more it is resistant to peeling of from sides of
the patch. Choose quality fabric so it resists abrasion well. Match the colour of the patch fabric to fabric being repaired if wanted. Water resistance of the patch fabric is
almost irrelevant because the Sewfree film is waterproof. You should have a little bigger piece of patch fabric than the area
to be covered.

- Cut a piece of Sewfree. Make it a little bigger than the area to be covered with the patch but a little smaller than the
patch fabric piece.

- Clean the fabric to be repaired around the rip. Cut away any excess threads etc. If the rip is big leave the big even
fabric pieces under the patch.

- Attach Sewfree, still protected with paper included, to the patch fabric with low temperature and presure. Leave small fabric
margins around sewfree to avoid gluing Sewfree to the table.

- Let the fabric + Sewfree combination to cool for few seconds. Cut Patch to desired size and form. Make round corners.
- Heat iron to Sewfree application temperature and fold paper protecting the Sewfree partly aside. Don't touch the Sewfree
membrane.

- Start to attach the Sewfree patch to the surface being repaired from the edge not covered with paper.

- After one corner of Sewfree patch is attached, take the protecting paper away.

- Apply temperature and presure to the whole area of the Sewfree Patch slowly spreading from the corner first attached in
step 7.
- Some glue-like substance should come from the seam between the surface being repaired and the patch for the width of
about 0,3 millimeters. After the whole area of the Patch is attached leave aside to cool.

The repair work is done. From now on when washing the garment follow the Sewfree maintenance instructions, if allowed by the garment maintenance instructions.
by Heikki Hautala
Result Pages: 1
Displaying 1 to 1 (of 1 products)


